


the build of Storywood 3 ‘Rocketman’
1st August 2021
I can’t make my mind up on the next instrument to build: I have jointed two tops: an ancient Sequoia and a spalted London Plane. The Sequoia has the most violent flame of any piece of wood I have ever worked. Too violent? Certainly too much for me to dare to touch yet. I need to think about that one. The London Plane has a spalting pattern that looks like an HG Wells rocket, with the figure of the lacewood flowing around it in aerodynamic swirls. The upper bout of the top sees the lacewood become chaotic burr. Altogether a picture of complexity. The trick will be to position the rocket in such a way that the hardware won’t conceal the shape and idea.
Just as I have two tops, I have two bodies. One is in ‘forgotten’ Brazilian Mahogany, discovered in a corner of a small woodyard decades after it was placed there. The other is a one piece of my Royal Cedar of Lebanon. I decide to make this a temperate softwood timber story: American Sequoia with British Cedar of Lebanon and keep to the theme with a neck billet of roasted White Maple from Canada which has outrageous flame and a very deep colour. It smells of toffee apples from the roasted maple sap. Woods are chosen, the top and body are bandsawn to rough shape and I decide to swap my usual system and make the neck first. So I measure and cut a scarf joint, plane it out, then glue it up. I’m in no hurry for this guitar to be done, so that’s a day.
2nd August 2021
Day two and I can take the neck out of clamps. This billet of wood is smaller than I like: cut to make a Strat neck and by the time I’ve cut the scarf joint it is just long enough to work, but too thin at the heel. But I have a cunning plan: The billet is 27mm thick, just enough, that, once I have done the scarf joint, I can bandsaw 10mm of wood from the back of the headstock, which I curve out as I cut to leave the wood for a volute. The piece I have cut off can be glued to the heel end of the neck to thicken it to a proper dimension. Voila!
Various days through August…
I have a fretboard I’ve been keeping for this one. Crelicam ebony comes in a range of patterns of grain and some has a spotted pattern that Madinter, who are the organisers of Crelicam with Taylor, call Leopard Ebony. I think it looks like stars. I had two pieces of this pattern and I used one for a trial neck on another project. But with this I am going to use dots of Paua and MOP in 2, 3, 4, 5 and 6mm to create a little constellation of stars at the 12th Fret. For some reason it is really difficult to fret and makes for a stressful couple of hours until I’m happy. More often I fit the fretboard, then fret it, but this time I go the other way and fret first.
Again, normally I’d fit a headstock cap of the Ebony, but the Roasted Maple is so gorgeous, I couldn’t possibly cover it up. That does mean I’ll need to fit a truss rod cover to this one as normally I can tidy up the truss rod access using the headstock cap.
I was worried the really pronounced flame would make the neck hard to carve, but it was actually a doddle. Came together well, especially the volute. I’m in two minds about using them, but I like playing with the design and getting used to having them.
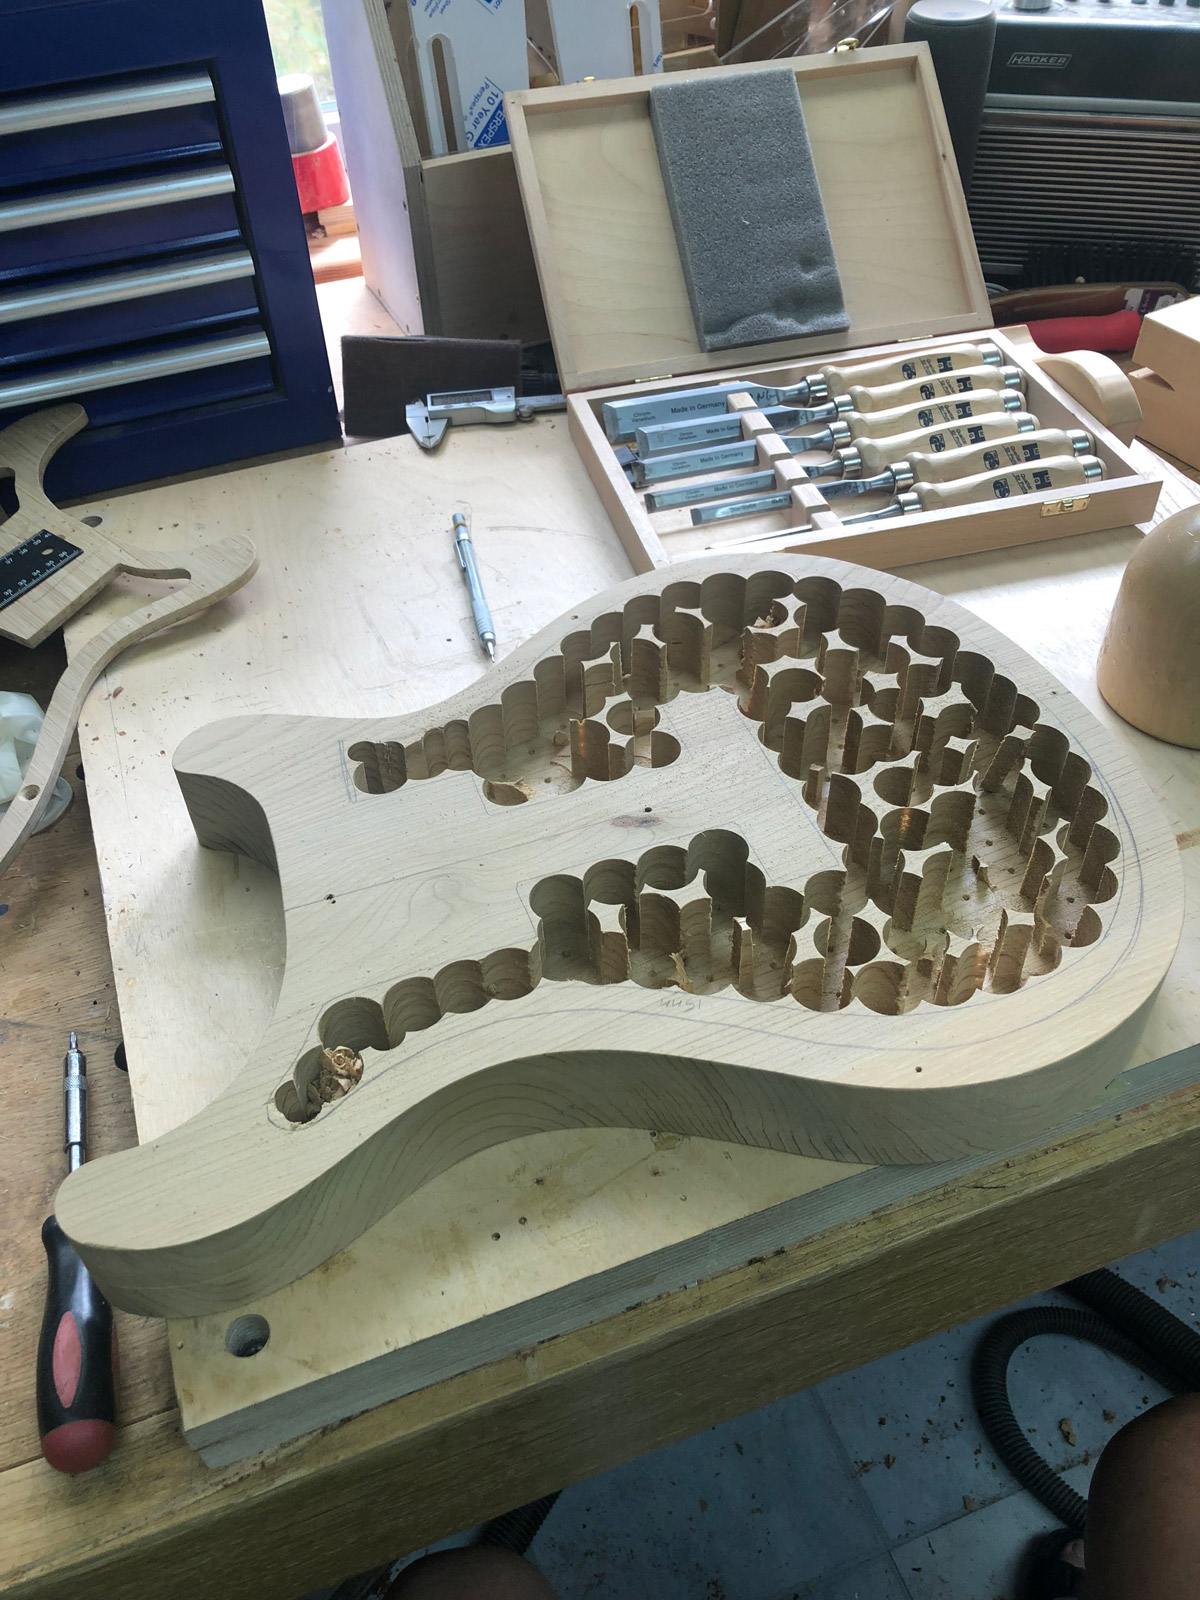
The next phase is a bit boring, but I’m always surprised how fast it goes compared to making an acoustic. What it lacks in subtlety it makes up for in sheer progress. Once the body is bandsawn, I screw on a template and rout it to exact shape. Then I mark out the cavity, which is almost the whole thing. There is about 10mm around the edge of the body and a neck block to contain the pocket joint. A spine runs down the centre to connect to the bridge block, which I keep as small as is safe. I leave a portion of the treble upper bout solid to support the scoop on the cutaway and create a series of a couple of levels inside the bass lower bout to give enough thickness for the body relief. This part is cumbersome and I’m not crazy about it.
If I was prs or whatever, I’d simply get the CNC machine to duplicate the body relief on the inside, but I don’t have that luxury. The sheer sides of the body make it almost impossible to access neatly to do a perfect carve and anything less will just look messy, so I tend to cut two contour shelves which is a neater solution.
The bulk of the body is removed with a Forstner bit using the pillar drill. Then I tidy up the sides with chisel and gouge before routing a clean wall and floor.

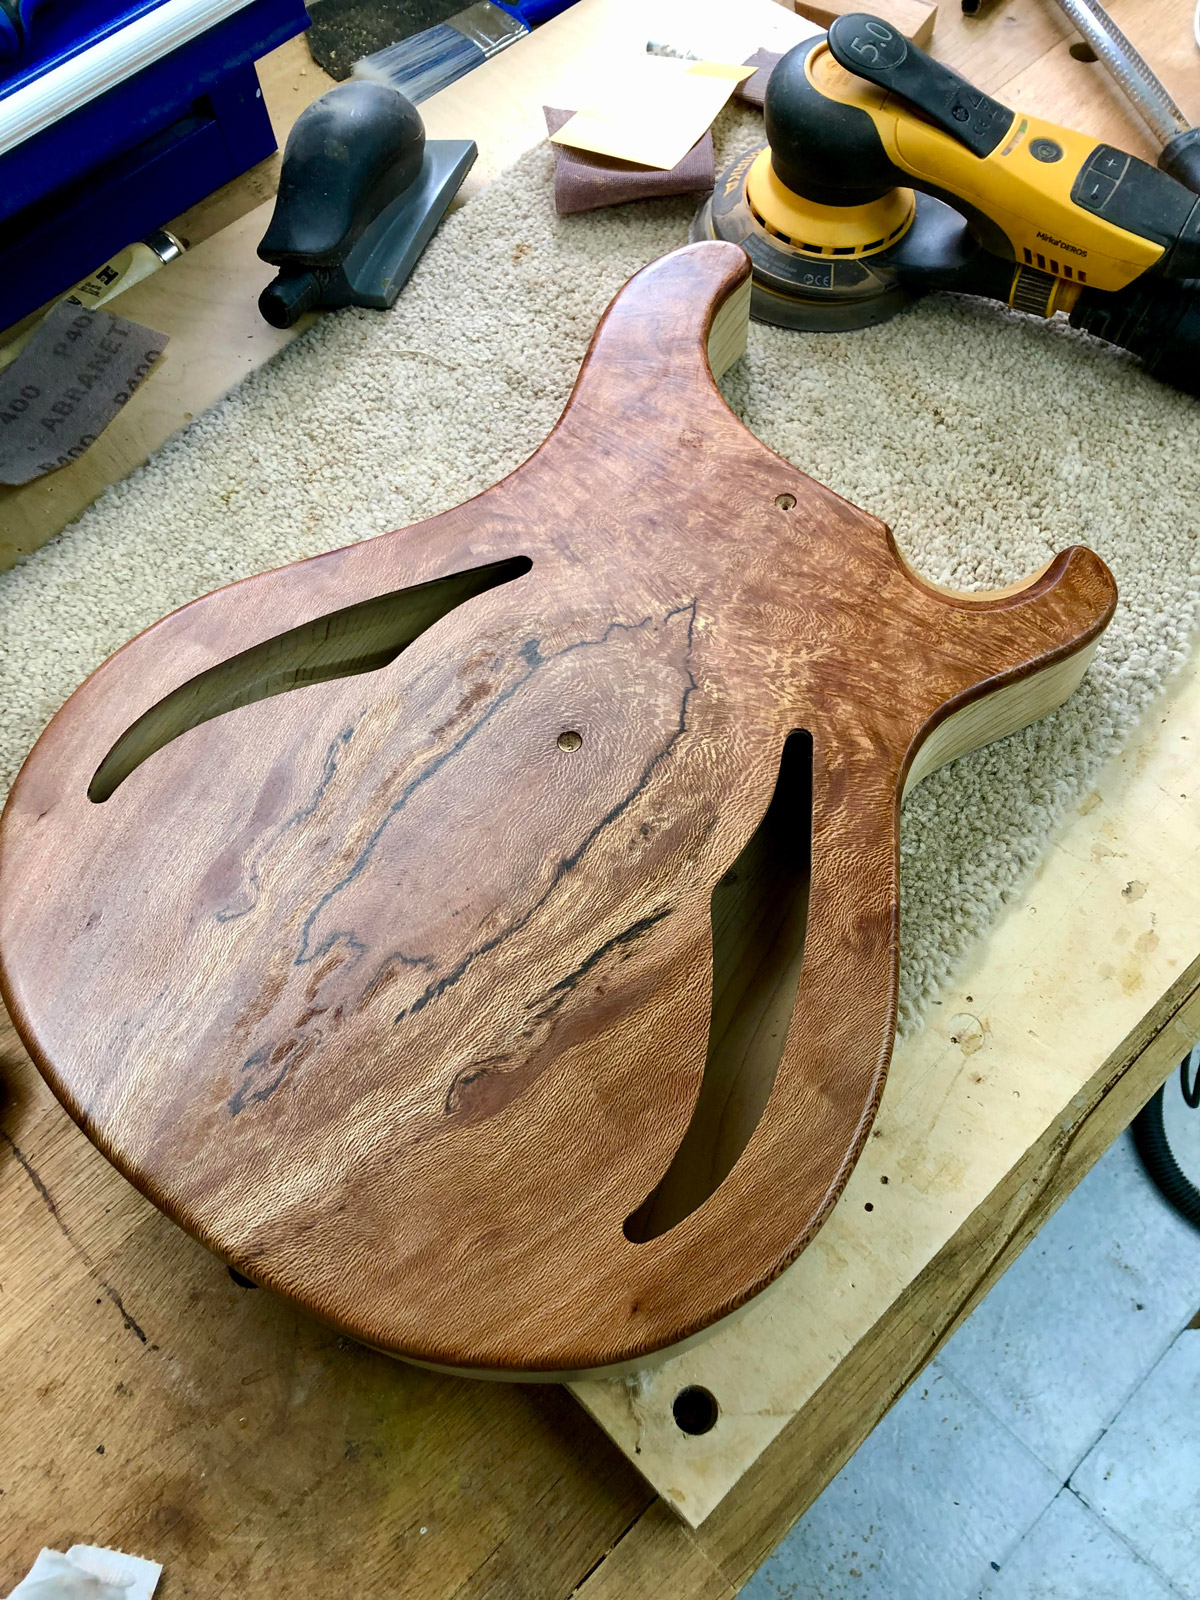
Once the body is hollowed out and the top is ready to attach, I sign it inside. Well… I usually do! For the first time ever, I have glued on the top and forgotten to sign it first! Can I sign through the sound hole, or do I stick in a label? I’ll think about it.
Then it’s routing the top to match the body, radiusing the edges and carving the scoop and body relief. Suddenly, it’s time to cut the pocket joint.
I hate this. All luthiers hate putting a router anywhere near a guitar that is getting close to being finished. It is just too scary: suddenly it can bite, and then there’s a hunk of wood torn out of it. We cut out as much as we can using a pillar drill; much kinder and more relaxed. The router has to just clean it up. Doesn’t make it any more fun, though. Then the same with the pickup cavities, and drill the bridge
28th August 2021
This is coming to an end. Today marks the last tool marks on this guitar. I file out the top of the neck tenon, the figure in the wood is way too violent to accept a chisel happily. It is also brittle: a result of the roasting of the maple. I’m a bit worried that that brittle character could weaken the neck / body joint, so after a bit of thinking, I finally decide to do something I have never done before and place 4 stainless screws running vertically through the neck heel to protect it. They will be invisible once the neck is fitted, but I suppose putting 4 screws into the same piece of wood that a bolt on neck suffers, was a bit jarring to my sensibilities.

I drill the tuner holes and the wood tools are done with. The frets need a touch of levelling and crowning, then polishing up to 3000 grit. Then I mask them for the first coat of oil to the neck. It is always exciting when you put finish on a piece of wood for the first time, but this one takes my breath away. It is simply a marvel. My first reaction is to go and order more roasted maple! Then common sense kicks in, and I resolve to listen to the instrument first, but I’ll be very pissed off if that neck doesn’t live up to its looks because I definitely want to make more of them!
The body is sanded working up to 1200 grit. I always sand up, then apply one coat of oil, which will reveal any flaws, then I sand again. This body has revealed a tiny wormhole near the neck heel. I suppose I shouldn’t be surprised. This Cedar has some enormous holes in the big boards, bored by some huge creature; they are close to 10mm across, God alone knows what chomped at that scale, but this hole is just over a millimetre. I consider carefully matching it away, but that seems a bit of a travesty. These guitars are about the story of the wood. That worm was part of that story. So I fill it but allow the dark edge of the hole to remain. The worm gets it’s own little bit of immortality.
There’s another dilemma when it comes to finishing the top. In the areas behind the rocket engine, there are small areas which are very open grain. They will never gloss up with the finish. I could fill them: I have a clear cyanoacrylate that would do it and give a universal finish but, again, I think that’s editing the story. That bit of wood wants to be matt. I should allow it.
And, as this instrument comes together, that is the message. If you make it about the wood, the wood needs to be free to speak and tell its story. I can’t be a dictator, I need to be more of a listener.
1st September 2021
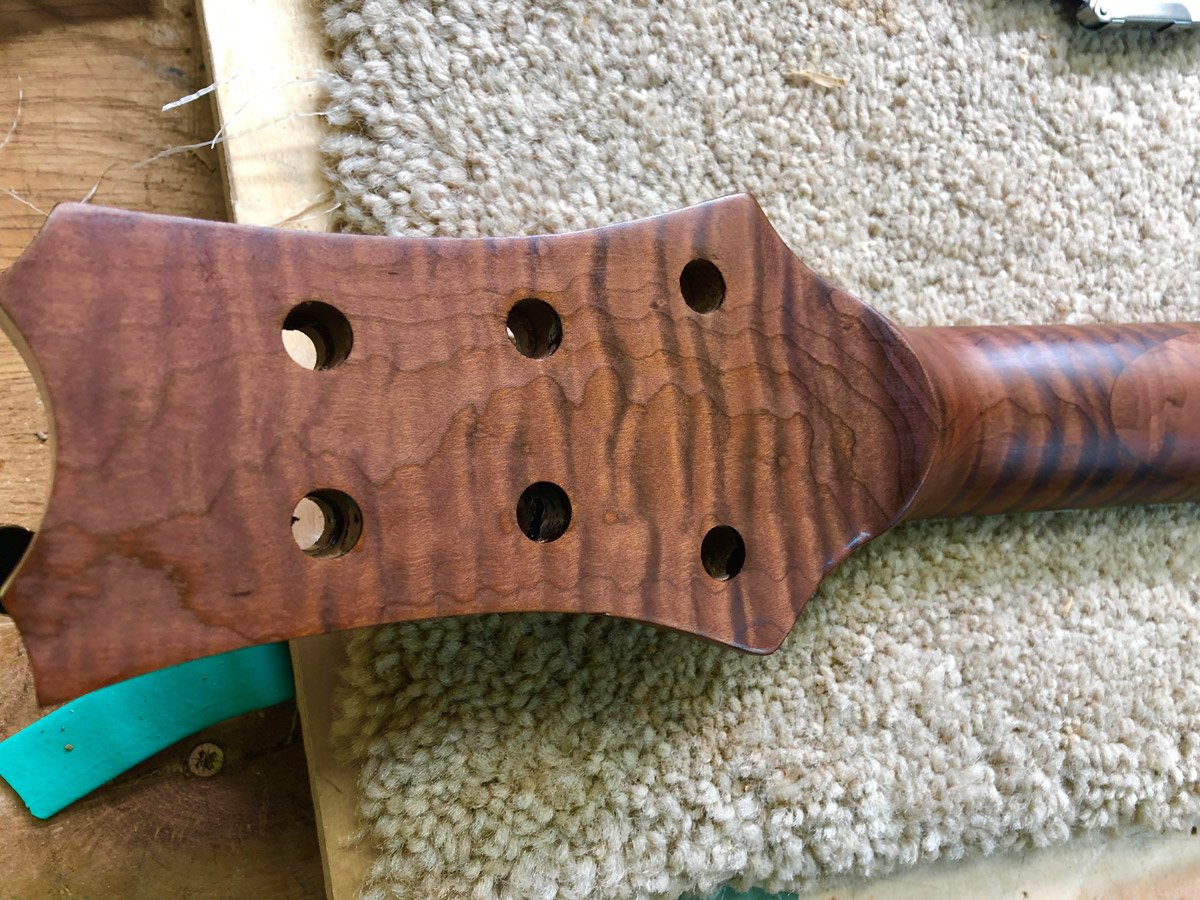
The fourth (or is it the 5th?) coat of oil goes onto the body and neck. It is curing really well and the cedar takes on a lovely ‘lollipop’ look to it. The top is showing various points where the grain doesn’t allow a perfect gloss, and that’s fine: that is what the wood wants to be. The neck feels done. I cut it back with 1200, then 2400 and 3000 grit and it has an amazing tactility to it that might be diminished by a thicker layer of finish and I’m confident that it has enough on there to protect it. I think the whole of the neck and headstock should stay as a semi gloss and not be pushed further. I did succumb and order another torrified Maple billet.
Finishing the instrument like this only allows an hour of work a day at most as the instrument is drying most of the time. So my attention is swinging to Storywood 4, with it’s outrageously flamed book-matched Sequoia top. I have already got the body joined, forgotten Brazillian Mahogany, so ready to start with the bandsaw. But my workshop is just one small room, so I can’t make any dust while finishing of Rocketman is happening. The Fretboard is lovely: while Rocketman has the Leopard Crelicam with its spots, this one is folded cloud patterns, just like Ziricote.
One thing I might start with is designing the 12th fret inlay. I’m planning to stay with the ‘stars’ theme, I think, and just have it as a 12th fret marker. But that doesn’t mean the design can’t spread beyond the 12th a bit.

